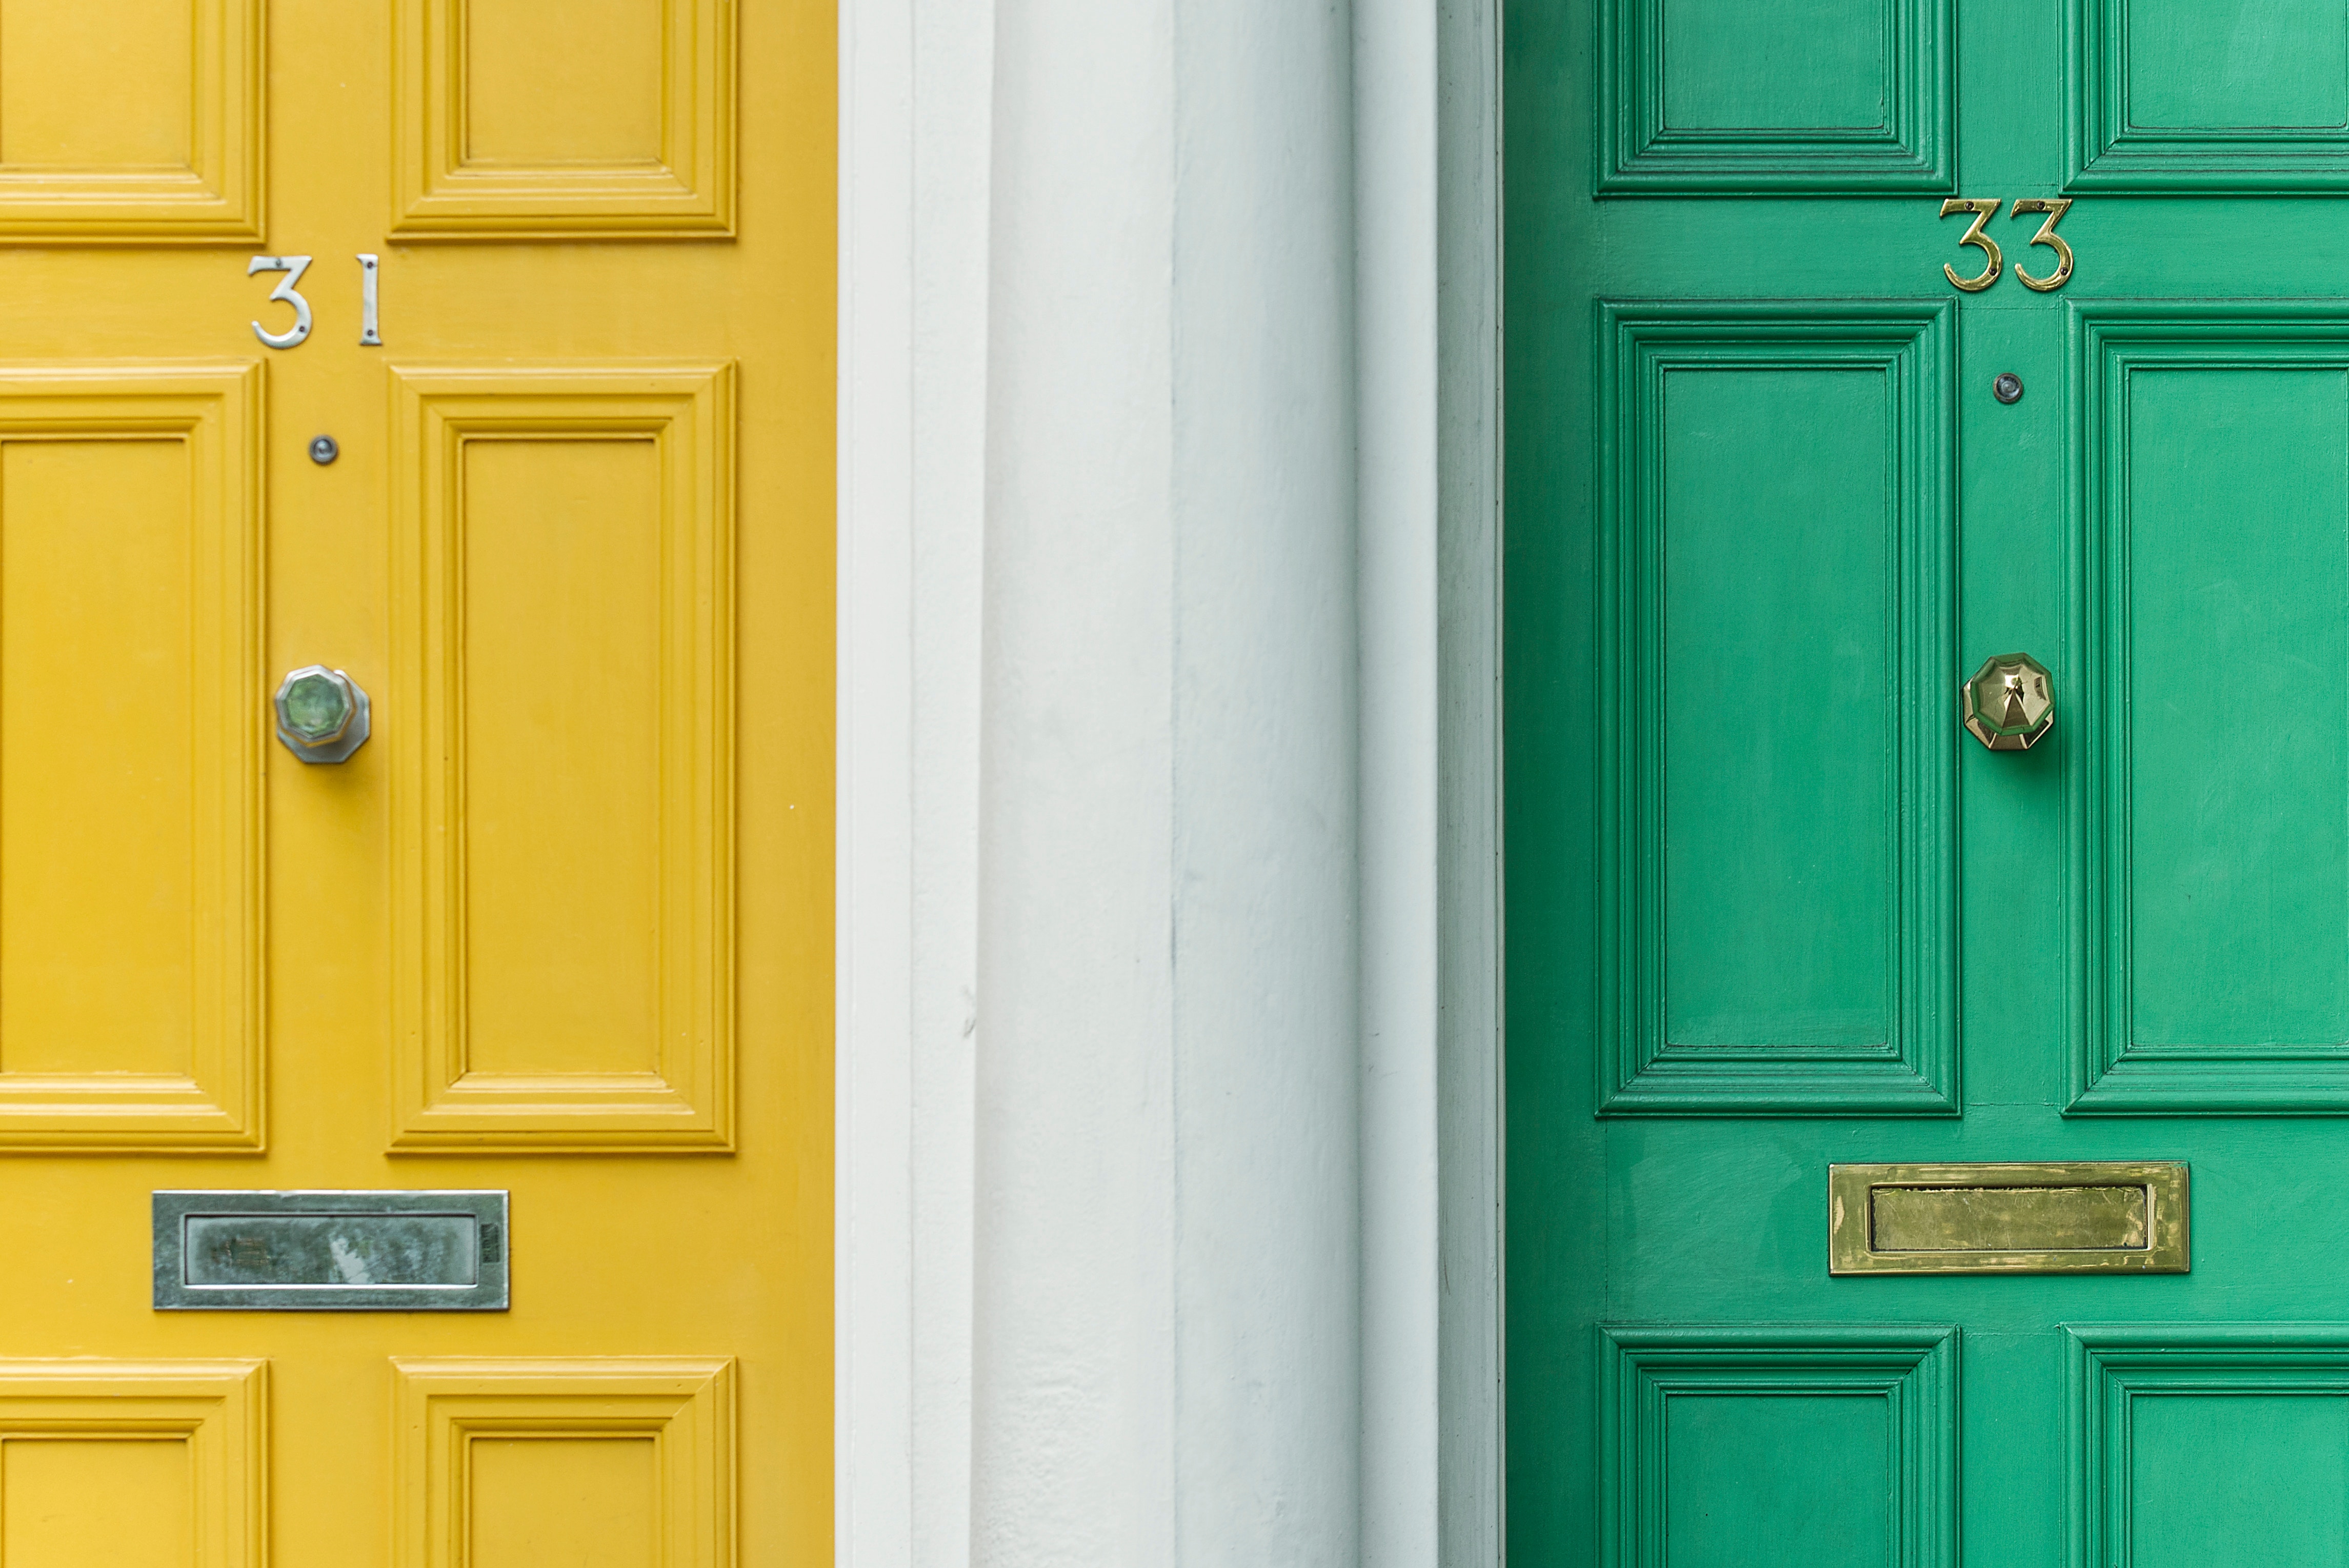
When we painted our front door in a black gloss way back when I was so daunted by the task. In particular, the perfectionist in me was freaking out! I could just imagine turning up home every day and all I would see was the brush strokes and imperfections.
So I enlisted Victoria Sloman, owner of The Colour Retreat to give me some advice to others like me who don’t want to screw it up! And let me assure you, if there is something that Victoria doesn’t know about paint it’s not worth knowing!
Here’s the skinny from Victoria…
What is the best product to use to paint your door?
I recommend using a water-based primer sealer for the undercoat (such as Dulux 1 – Step Prep) and then for the topcoat, a low gloss level water-based enamel topcoat (such as Dulux Aquanamel Low Gloss)*. There are other equivalents available in other premium brands such as Haymes Prepcoat Ultracover (undercoat) with Haymes Ultra Premuim Ultratrim Acrylic Enamel (Semi-gloss), but Dulux is my go to for this job.
Now, I know this sounds obvious but always thoroughly read the manufacturers advice on the product label prior to starting. Once you start the paint you can’t turn back – just like a recipe!
What brush type do you use?
Painting your front door isn’t a big job, so a brush and roller are a great DIY friendly option! No need to crank out the spray gun for this task!
In terms of the brush style, you can use whatever you are most comfortable with such as an oval, sash or angled brush. When choosing the roller to use along side a brush, a 100-110mm standard “nook and cranny” roller is most common. It’s the cover that is the key when you are dealing with rollers. For oil-based enamels you should only use mohair or foam roller sleeves. When using water-based enamels only a 4mm nap microfibre sleeve is recommended.
What prep work is required?
If you suspect your door hasn’t been painted in a long time, say around the 1970’s, you may need to conduct a lead test prior to painting. Lead in your paint will require preparation or removal as per Australian regulation and advice. DIY lead tests can be purchased from your local paint and hardware store and range between $30-$40 (most include 2 disposable tests).
The amount of effort you put into your preparation will be reflected in the finish of your door. Keep a damp rag on hand to quickly wipe away any drips.
- General Surface Preparation: Fill any holes (or gaps) with an appropriate filler, scrape any loose or flaking paint and sand smooth where required.
- Previously Painted Surfaces: Clean the surface thoroughly with a warm sugar soap solution and then, once dry, sand lightly with a 180-240 grit sandpaper to remove the sheen level of the previous paint coating (this will help the undercoat adhere to the doors surface)
- Lay down a drop sheet and mask around any areas (such as glass, fittings or floor edging) with a good quality blue painters tape. You may need to spend more time carefully masking if you’re painting your door whilst it’s hung.
- Remove any dust that may’ve settled on the door with a lint free cloth (you don’t want this collected in the paint!)
- Mix your Primer Sealer Undercoat very well prior to using and apply 1 coat (wait until dry).
- Mix your enamel very well and let it sit for a few minutes to let any bubbles (from mixing) settle prior to each coat. Apply a minimum of 2 coats of the desired top coat enamel (a third coat may be needed if the colour is slightly patchy). You need to make sure ensure each coat has completely dried prior to applying the next coat of paint otherwise it’ll come back to bite you!
- If you see any drips or runs in your paint, wait until it has dried, and then lightly sand it smooth and re-coat.
And one last but all important tip…. You need to consider access to your house .
Depending on which paint you select and your painting schedule (water or oil-based enamel), your entry door may be out of action for a few days so. If possible, I’d recommend that you make alternative arrangements for getting and in and out of your home. Anyone dealing with paint will know that it has a dry time, but what many don’t appreciate is that it also has a curing (or hardening) time– just like nail polish – and can bruise or be dented by applied pressure.
Paint manufactures will not stipulate a specified curing time to their paints (as it’s influenced by atmospheric conditions) but the more time you can leave your freshly painted entry door undisturbed, the better it’s finish will be!
If you have no alternate access to the house (other than the front door), then interrupting the curing process is your reality and sometimes that’s just life!


