There is no denying that painting your fence is hard work. But it’s totally worth it.
Until you paint your fence you don’t see how unattractive a plain timber fence actually is. Now we’ve done ours, it jars with when I see homes without a painted fence. Our neighbours up the road have just completely their beautiful new reno and all I see when I walk past is their brand spanking new fence that desperately needs a lick of paint.
The reason so many put off painting their fence is that it is a massive undertaking. And once you start you can’t go back. Choosing the right colour is the first task but then when you start to apply it you realise how much elbow grease is really involved.
To help make the process less hard work that it already is, here are some tips to get you going…
Let’s start with the easy part… choosing the right colour.
There is no right answer on what the best paint colour for your fence is, as preferences differ. What I can tell you is that the most popular fence colours are Woodland Grey, Ironstone and Monument (aka Grey, Charcoal and Almost Black respectively).
When you start looking around at the houses in your local area, you’ll see that most fences fall into this grey spectrum… Woodland Grey being on the lighter side with a hint of green; Ironstone being a more charcoal tone with a hint of navy; and then Monument is on the darker side – closest to black.
The decision between the three is primarily one around how bold you want to your fence to be, and how much you want the surroundings to your fence to “pop”.
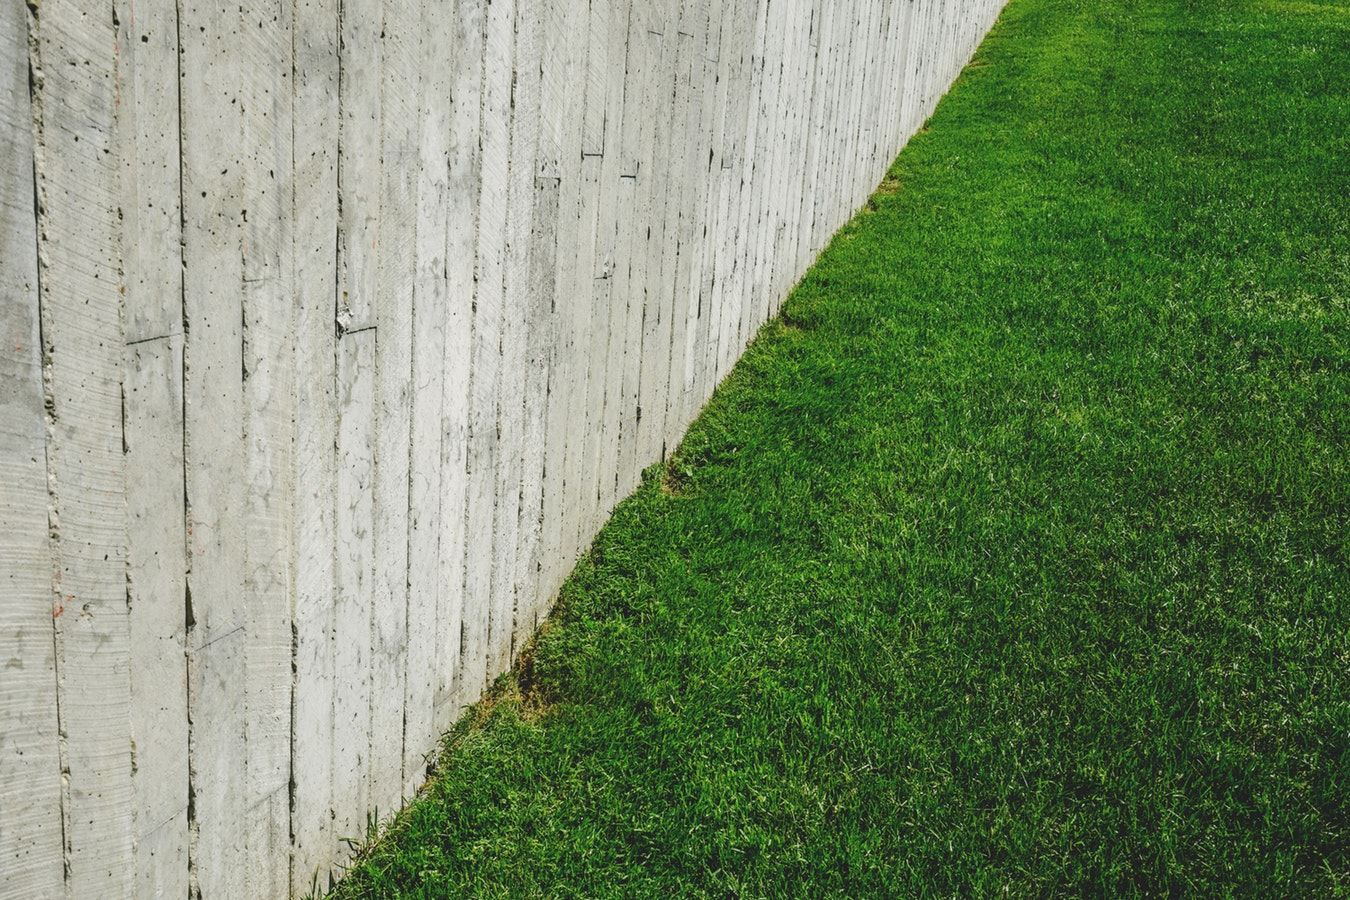
We personally used a version of Dulux Ironstone which is the ‘GB Paints fence paint’ in Charcoal (which I purchased from Paint Inspirations, just by the by). The reason I chose it was because I felt it made the green in the trees and creeping ivy really stand out. I found the navy tone in the charcoal complemented the green perfectly. Monument is commonly used for the same reason and looks great with more modern homes and new builds where there has been some black incorporated into the facade.
Woodland Grey is popular for those wanting a softer, more natural looking backdrop and not having the fence stand out as a feature.
In applying fence paint, you have two options. You can either go old school and apply with a brush (as I did) or you can spray gun it.
Applying by brush is harder work because the wood is so porous that you see all your hard work disappear in the first coat which can make it hard to keep motivated. Though if done well by putting your back into it, you should just need one coat that you can touch up over time.
To me, painting by brush seemed the cheaper and easier option than organising a spray gun to apply the paint. It also seemed like a faff to have to put up the protective barriers required to avoid spraying the neighbour’s house. I also had no clue on where to begin in figuring out how to use the spray gun. That seemed daunting!
At the time I was also at home with my first child who was a great sleeper (the second child… not so much), so I had a few opportunities for a steady run of painting. It was easier for me to dip in and out (literally) with my paint brush during naps.
However, in hindsight, or in future, I would go spray gun all the way. Why? Because my time is frigging precious these days. And the RSI in my wrist from slapping the paint on the entire perimeter of my house is not something I’m going to enter into again lightly. Also, I’ve found through many DIY activities around the home, a little bit of research and prep up front (like figuring out how to use a spray gun), ends up being worth its while in the long run.
To prepare me in future for spraying, and to share the advice with you, I’ve sought advice from those who have been their done that for their 5 top tips on spraying:
- Firstly, if you don’t already flick through Aldi catalogues like a best-selling novel, then you need to start to look out for a spray gun in Special Buys. The number of people I’ve spoken to that have used, and vouched, for the $35 Aldi spray gun is enough to sell it to me.
- Don’t spray all the way to the top of the fence otherwise you risk accidental ‘spray-off’ (unofficial term) on your neighbours’ house. Use a brush to finish off the top and bottom tips.
- Attach some board or some protective barrier to both your ground surface and the other side of your fence as there is every chance you have some gaps in your fence (especially if you are dealing with an older fence). I’ve heard horror stories of paint spraying through the cracks and onto cars parked on the other side… so don’t be that neighbour!
- Seek advice from a paint specialist on the best paint to use for spraying. A tried and tested product is Taubman’s Sun protection exterior paint. But ask the experts and make sure you are clear on the watering down ratio before you get going.
- Make sure you are spraying on a day with low wind. I think you can figure out what would happen if you don’t!
And finally, if you can’t be bother with paint at all, and want a low maintenance option then a Colourbond® fence has your name written all over it. 😉


